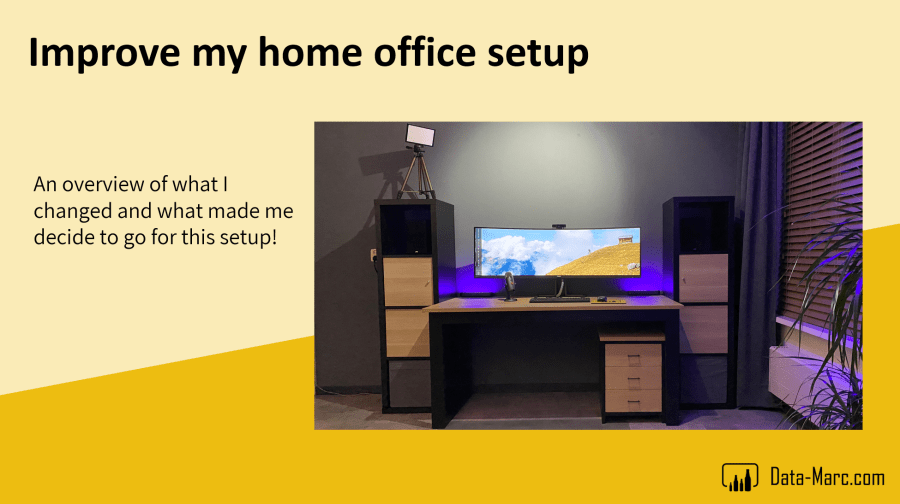
As it is not likely that anything will change anytime soon, we are probably working from home for the coming period. Although I had a pretty good home office already and not much to complain about, still I decided to up my game and upgrade my home office.
You might think, “huh… normally he writes about Power BI?” Yes, that is true. Nevertheless, I think it can be interesting to change topic sometimes. But do not worry, of course there will be something Power BI related in this blog. I will not only focus on what my current setup is, but also what made me decide to change it, which aspects where important to me and how I configured it all.
The setup
First, let’s have a look at what I had, before I decided to change everything. Luckily, I have the perks of having a separate room as my home office. I realize not everyone has this luxury, unfortunately. In this room I had a very decent setup with a 160cm wide desk and two 27 inch full HD monitors connected to a USB A dock station that was linked to my Microsoft Surface Laptop.
Good enough you might think. As I have already spent the past 10 months working in this room and probably will do for another 8 months, for what I expect at least, I think it was worth an upgrade. Also as I do more and more online presentations and workshops, I wanted it to be comfortable and so that nothing can be said about the quality of sound, camera and screen resolution.
Time to list down what my new tech setup includes including links to all the detailed specifications;
- Philips 49 inch 32:9 SuperWide Curved Monitor
- Lenovo ThinkPad Hybrid USB C / USB A Dock
- Blue Yeti NANO Premium USB Microphone
- Philips Hue Play light bar double pack
- AUKEY Webcam 1080p Full HD
- AmazonBasics 127 cm lightweight tripod
- Viltrox L116T Ultra-Thin LED Video Light
Other than the new stuff as listed above, I re-used my old JVC Stereo sound system, a very basic HP wired keyboard and Logi MX Anywhere 2S that I already had.
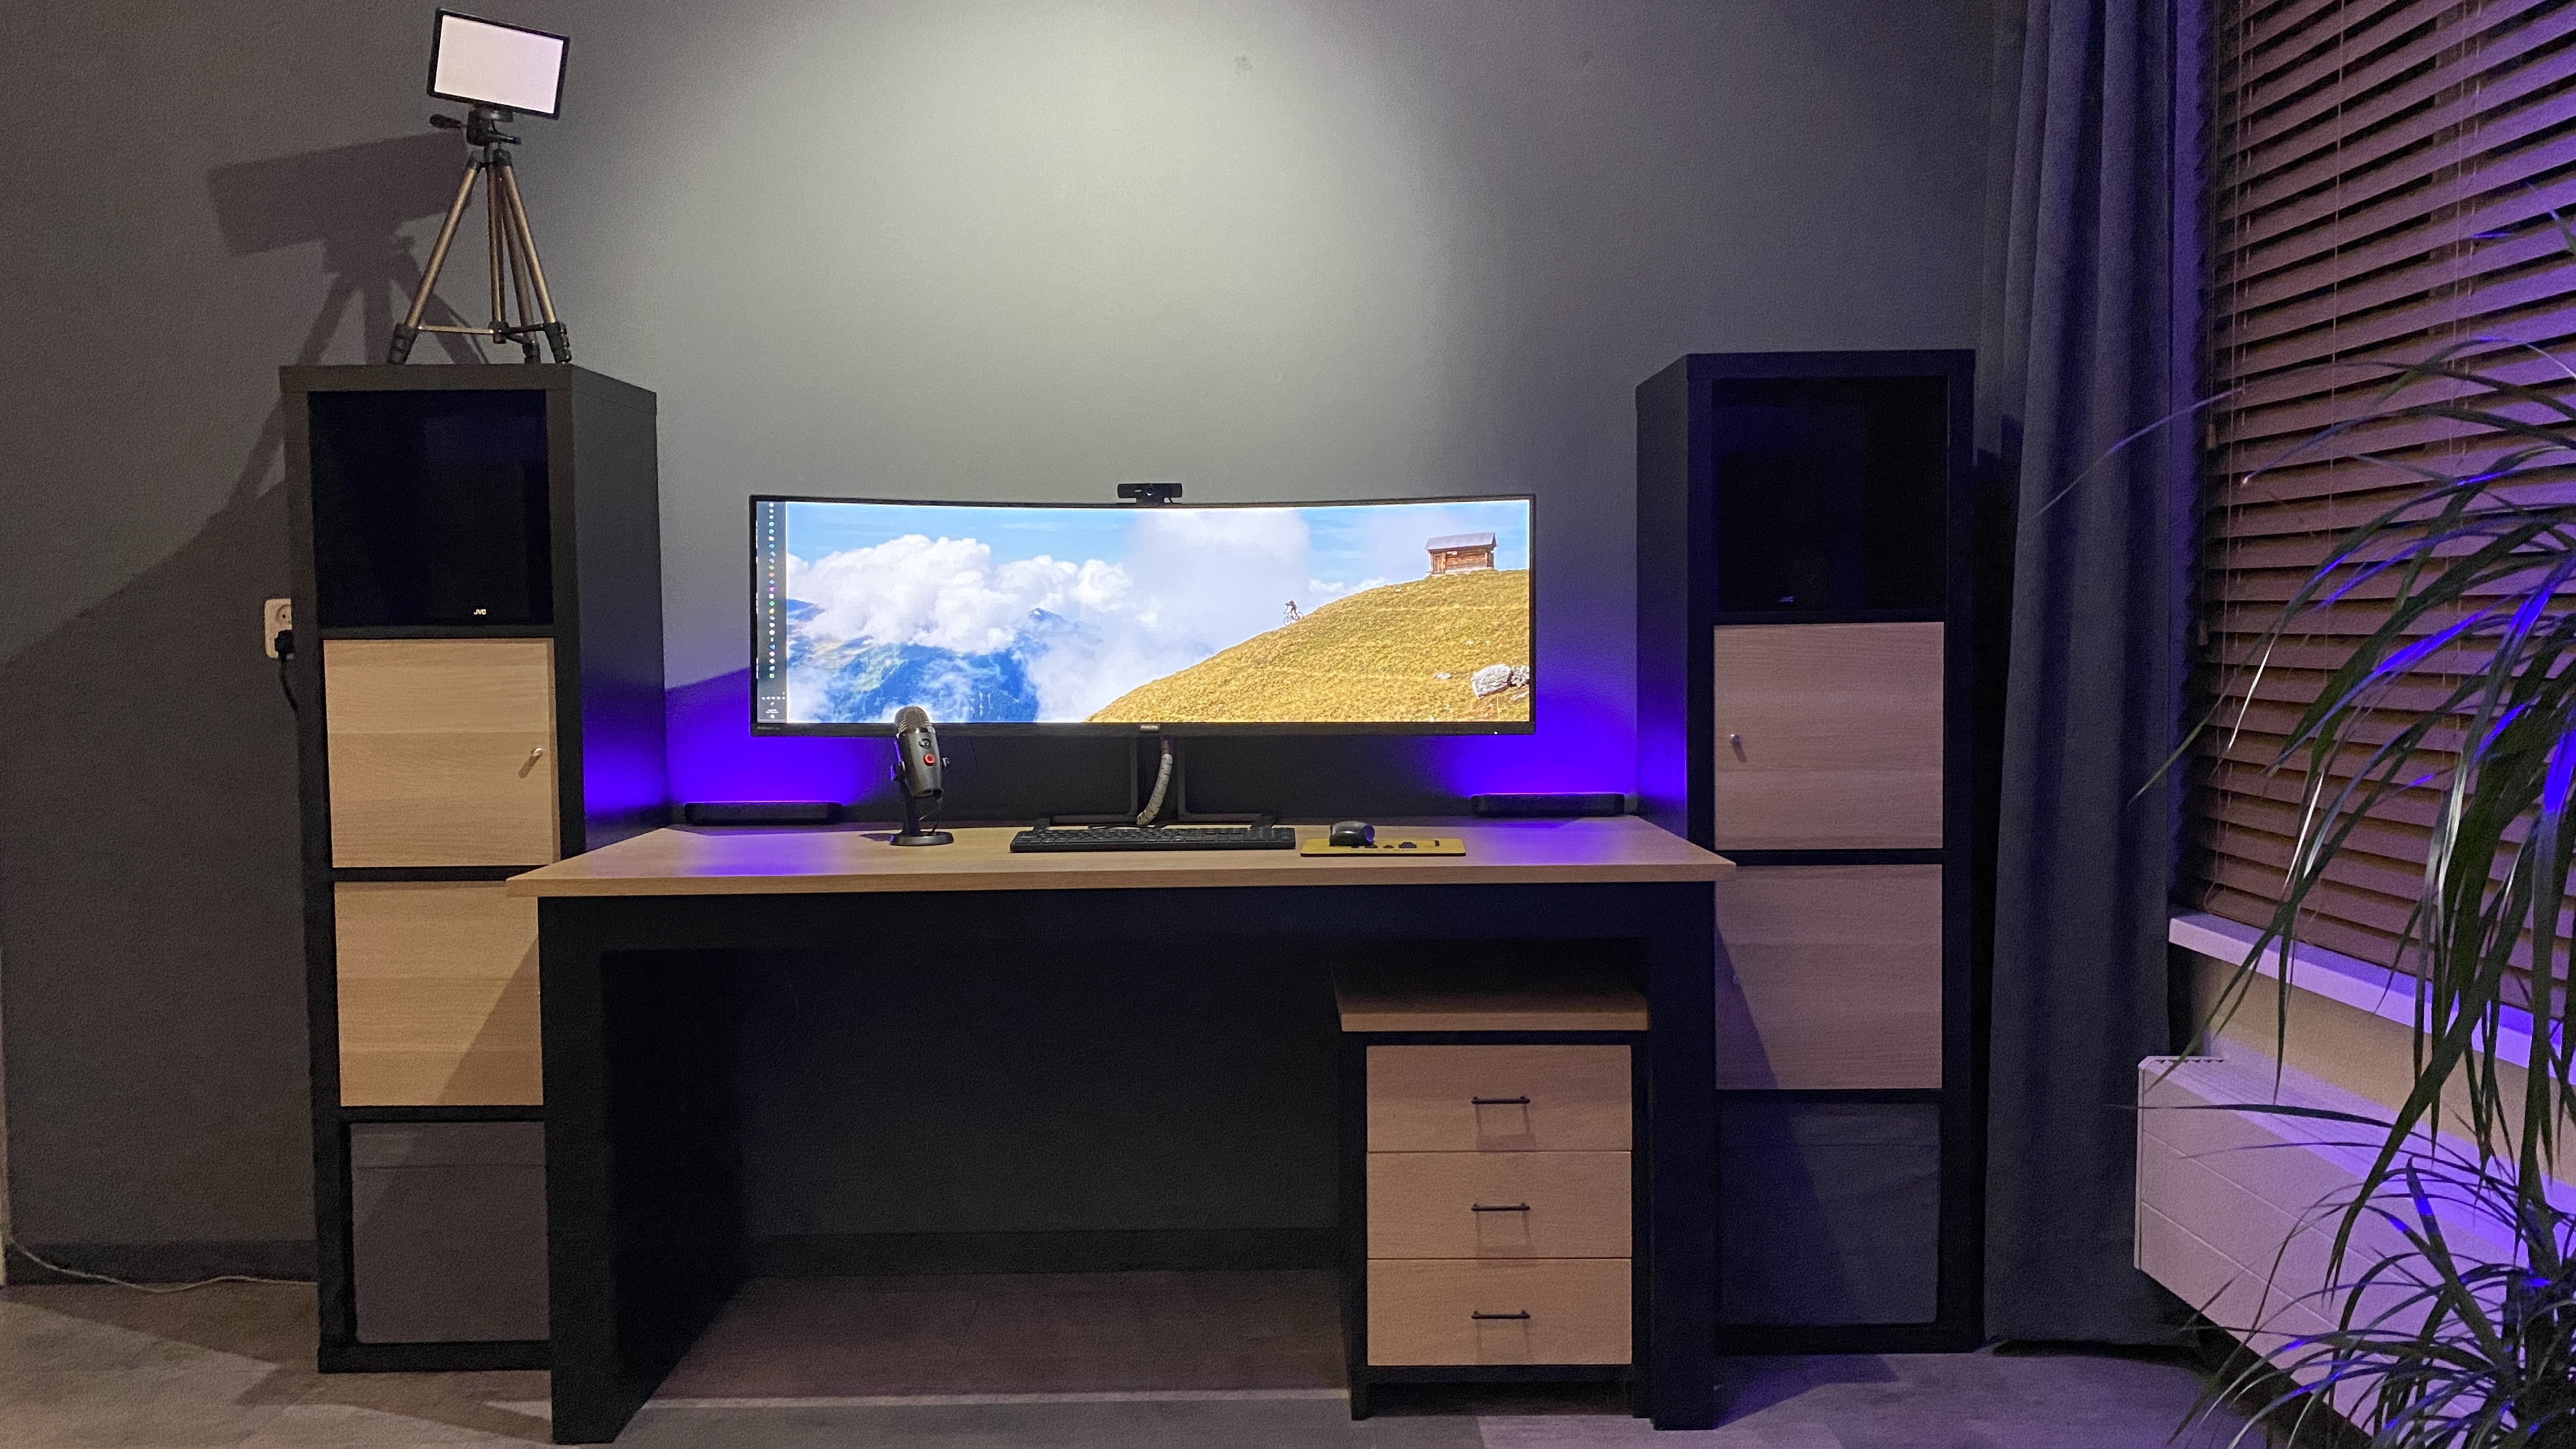
Other than the tech setup, I also bought two Ikea KALLAX closets for each side of the desk, which I expanded with some nice doors to match the style of my desk. Behind each of these little doors, you will find a part of my setup such as my Surface Laptop, Lenovo USB dock and Stereo sound amplifier. As I drilled big holes in the back of the closets, I managed to hide all my cables in there.
Behind my desk, all the cables are laying on top of a foam roll that I squeezed between the back of my desk and the wall. This enabled me to have cables to go from left-to-right and the other way around, without seeing them. The main reason why I wanted to not have the cables on the ground anymore, is that my robot vacuum cleaner gets lost in it or get my feet tangled in it.
So far, we have seen many blogposts since we’re all working from home, describing what people bought to setup their home office. Let’s have a look at why I choose in specific for these products.
Product justification
I have not bought the entire setup myself. Some products were given to me, such as the Video light, camera and tripod. For some other products, I had a specific reason why I choose this one and not any other comparable product. Below I elaborate on a few of them.
Philips SuperWide Curved Monitor
My old setup had two 27 inch monitors, which together were almost 120cm in width. As I obviously did not want to deteriorate, I wanted to cover at least the same width. The new 49 inch monitor is 119.4cm wide to be very precise! Since I always had my old monitors at an oblique angle to each other, I believe it is a good choice to go for a curved monitor now. Experiencing it for a few days now, I do not regret this choice.
Searching for a monitor, preferably under a thousand euros, there is not much choice left. Many monitors you will find, will have a 1080 pixels resolution in height, which is very much the same as I already had with my old setup. The Philips one on the other hand, brings 1440 pixels in height, which gives just this little bit additional space on your monitor. Personally, I really like this! Especially if you look at a very big Power BI data model for example. Those few extra pixels give you just that little bit better overview of the model.
As a final mark for this monitor, the integrated KVM switch, it is pretty easy to switch between different computers for example or even let the monitor act like two separate 27 inch ones with the split-screen setup. Little spoiler here, have a look at the configuration how I benefit from this feature!
Lenovo ThinkPad USB Dock
While my new monitor was delivered to my front door, I concluded that my old USB dock most likely couldn’t handle the resolution of the new monitor. After a quick search online, I found the description that told me that my old dock could handle two Full HD monitors at max.
Knowing the integrated KVM switch in the new monitor, might make a new dock unnecessary, as I can connect the majority of accessories directly to the USB hub in the monitor. Another quick search online taught me that the graphics card inside my Surface Laptop could not handle the 5120 x 1440 resolution directly. A bit disappointed that my new screen would not work on the most optimal resolution with my Surface, I looked for other options to connect it.
Some Twitter threads learned me that a setup with two separate HDMI cables might be a solution, as long as the graphics card of my Surface Laptop could at least work with two QHD outputs. The Microsoft support site learned me that my Surface should be capable of handling two monitor outputs of 4096 x 2304 each at 30Hz as well as 2560 x 1600 at 60 Hz. This made me confident again that there should be a way to get it to work!
All by all, I knew that my old USB dock was not sufficient and my only option was to find a way to connect two display outputs to my Surface laptop. Connecting everything from my Surface directly to the monitor and leveraging the integrated KVM switch was not an option anymore. A new USB dock was needed!
The requirements I listed down for my new USB dock, were that it needed to be future proof as well. So the dock should be capable of handling the 5120 x 1440 resolution in one go, but also having the option of two QHD display outputs. Having USB C on the dock was also a nice to have, as a future laptops might be able to directly connect the dock as well as charge over USB C. My Surface laptop does not have a USB C port, but I’m at least ready for the future!
Long story short, I ended up at the Lenovo ThinkPad Hybrid USB C / USB A dock. This was the dock that fulfilled all my requirements for an affordable price. For sure, there are other options around the same price as well, but availability and quick delivery made me decide to go for this one!
Find the max resolutions supported by integrated graphics cards of all Microsoft Surface products here.
Blue Yeti NANO Microphone
My final great asset that I bought, is the Blue Yeti NANO microphone. By doing more and more online webinars and presentation, good quality sound is important! Recently, I recorded a webinar (more about that soon!) where my old microphone had some issues that I wasn’t able to solve. If I was the last one talking on a Teams call, it seemed that my microphone channel was left open. As a result, there was an annoying background noise which sounded like there was a helicopter right above my house.
Looking for a new mic, the decision was made fast that it should be a condenser microphone which is better controllable. Reading some reviews online from others that present a lot or record podcasts, I found a lot of positive reviews about Blue, acquired by Logitech. The Blue Yeti NANO is the entry-level microphone in their product range, but most likely a million times better than what I currently had. Decision was made quickly, go for it and let’s see how it works out.
Configuration
As this new monitor has a resolution of 5120 wide by 1440 height, it is identical to a dual QHD monitor setup. You might think why I did not choose for a 4K or 5K monitor, this is much more expensive and an overkill for my usage, as I’m not a gamer at all. I mainly use it to work from home, write blogs, present and those type of activities. QHD is more than sufficient and a great step forward from what I had before.
Knowing my most common use, easy share of my desktop is important. Within Teams you can either your entire desktop or one specific application. But sharing a 5120px wide screen, will not make any attendee to the call or webinar happy. Of course, sharing a single application could help here. But as many of my presentations do not only exist of a PowerPoint deck nor Power BI, continuously re-sharing another application would be annoying.
To solve two challenges in one time, the dual HDMI cable setup was the way to go! By leveraging the MultiView mode on the monitor, allows me to simultaneously look at two inputs at the same time. Though, both inputs are coming from the same USB dock. With that, the monitor behaves like there are two computes connected, while in fact it is just one. The Surface laptop also acts like there are two separate monitors connected, while again, it’s just one but using both cables and two times 2560 x 1440 as output resolution. With the Surface acting like there are two monitors, I can easily present either the left or the right side of the monitor in Teams meetings!
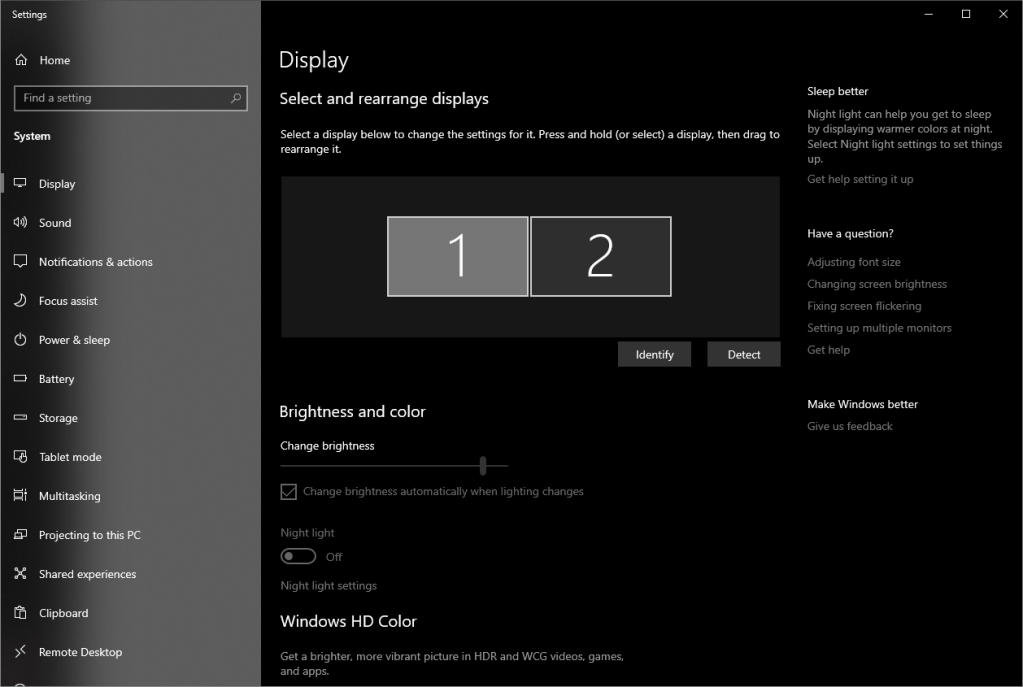
Of course, for other scenarios, for example gaming, this is sub-optimal and you cannot benefit from the entire width of the screen. But for office purposes, I like it a lot so far! Now, I can put the Power BI query editor next to the model view for example, or even split in four equal parts to snap windows to the left or right side of each screen (remember it behaves like two screens!).
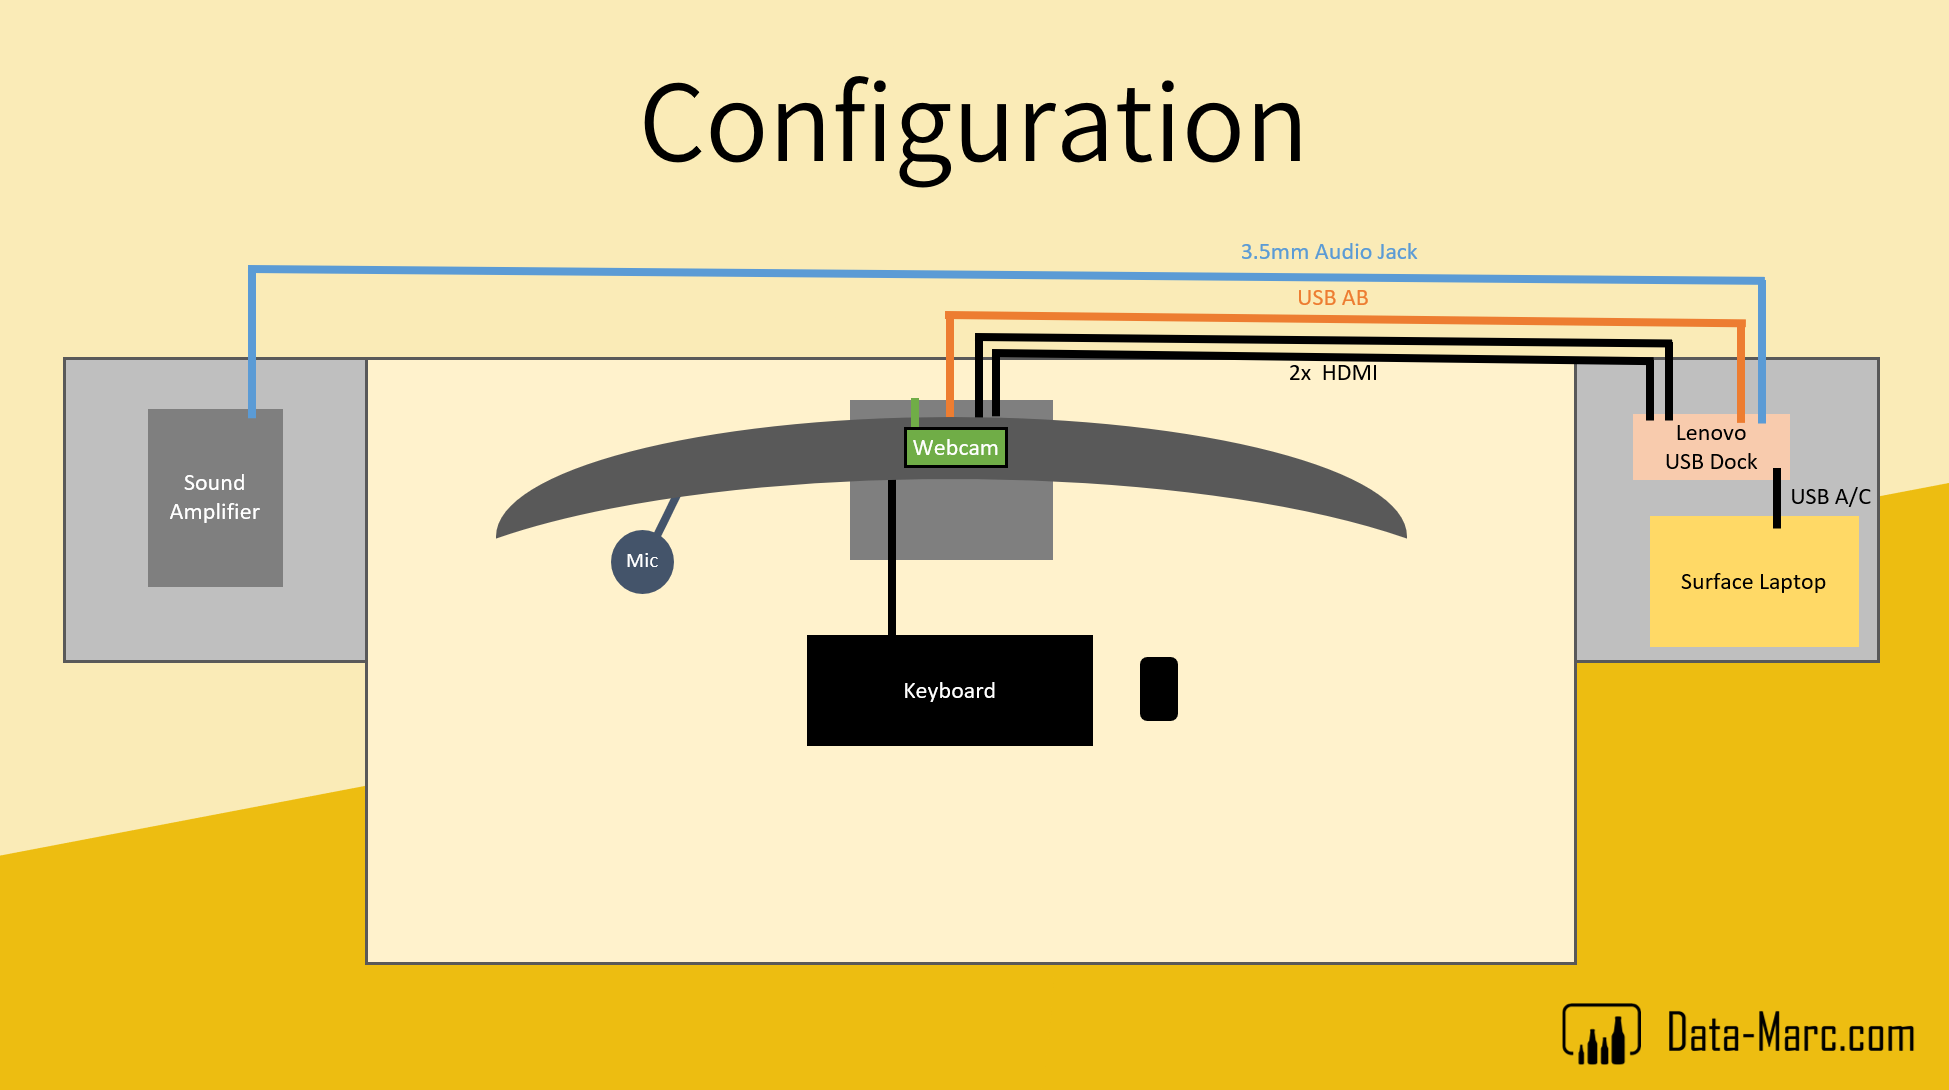
Finally, I made a rough overview of how all my cables are connected. I did not include everything in this picture, just to keep an overview. I left out all the power supplies, as I have power on each side of my desk in the closets. Other than that, there is also a speaker in the top opening of each closet, which I did not include in the overview as well, but adds another cable from the sound amplifier to both speakers. Finally, I didn’t include the Hue Play lights in the overview as well. They are placed on each side of the desk behind the monitor and only add another cable to the power supply.
As you can see, I still used the KVM Switch option of my monitor to limit the amount of cables behind my desk going to the USB dock. I put the microphone, keyboard and webcam in the USB ports in the back of the monitor and only used a single USB AB cable from the monitor to the dock.
A completely different blog than you might have expected. I hope you liked it! Next one will be completely focused on Power BI again. Work in progress!
